
I took this a couple months ago while out with a few friends exploring the woods in the winter. It sat around in a folder for a while until I learned a few new techniques from this post at DIYPhotography. I tried something similar in GIMP. You can also see this photo on my Flickr. 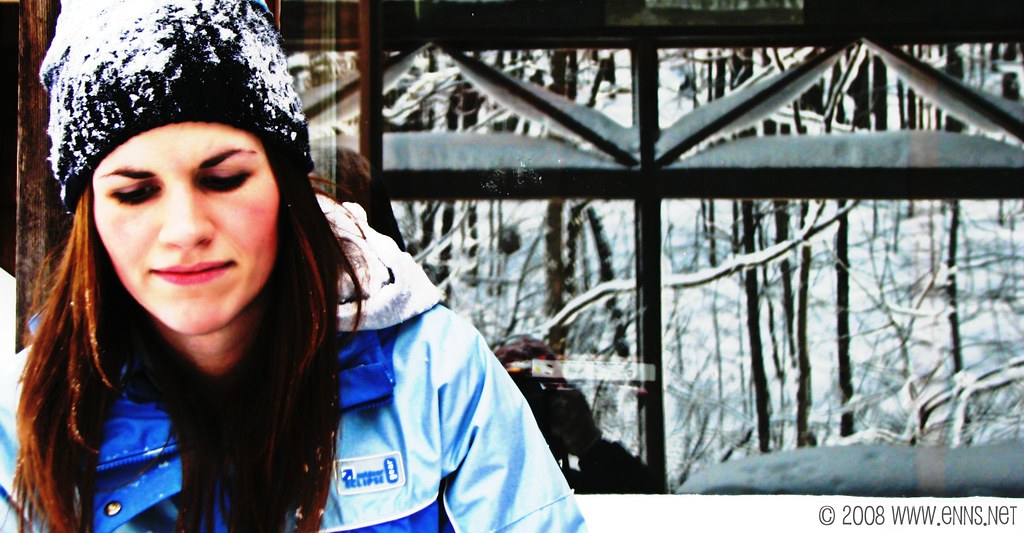
For this photo I used GIMP 2.4 (www.gimp.org).
Basically it is a High Pass Filter in Grain Extract Mode.
To do this:
1. in the Layers Dialogue, duplicate the Background Layer & select the new layer.
2. Select Filters > Gaussian Blur (choose a radius of 15-30 depending on the size of your photo)
3. Select Colors > Invert (Don't Worry It will look normal again!)
4. In your Layers diologue, set the opacity to 50% (The entire photo should be gray with outlines of your subject. This is a High Pass Filter)
5. In the Layers Dialogue change the mode to "Grain Extract".
Play with the opacity of the layer, curves, and if you want merge the two layers and repeat the steps until you get the idea you want...
1 Comment:
-
August 11, 2008 at 6:52 PM
Or you could just duplicate the layer, blur it, and set the layer mode to Grain merge. Great tutorial anyway!